


EasyDCIM, a golden opportunity to empower your data center, is the system with a vast number of functionalities. It is not an easy task to thoroughly document every single functionality and usage scenario – but why not give it a shot? A good way to start will be a step-by-step guide on how to capably add device and IPMI configuration in your system. Let’s get going right away!
If you want to quickly add a device in EasyDCIM then the best choice would be to use the Auto Discovering form. You will find it in the left side menu, unfolding successively ‘Services & Devices’ → ‘Servers’ → ‘Auto Discovering’ tabs. Remember that before adding a device you have to configure SNMP properly on the specific server, so EasyDCIM will be able to connect remotely to the device and download all the necessary information about it.

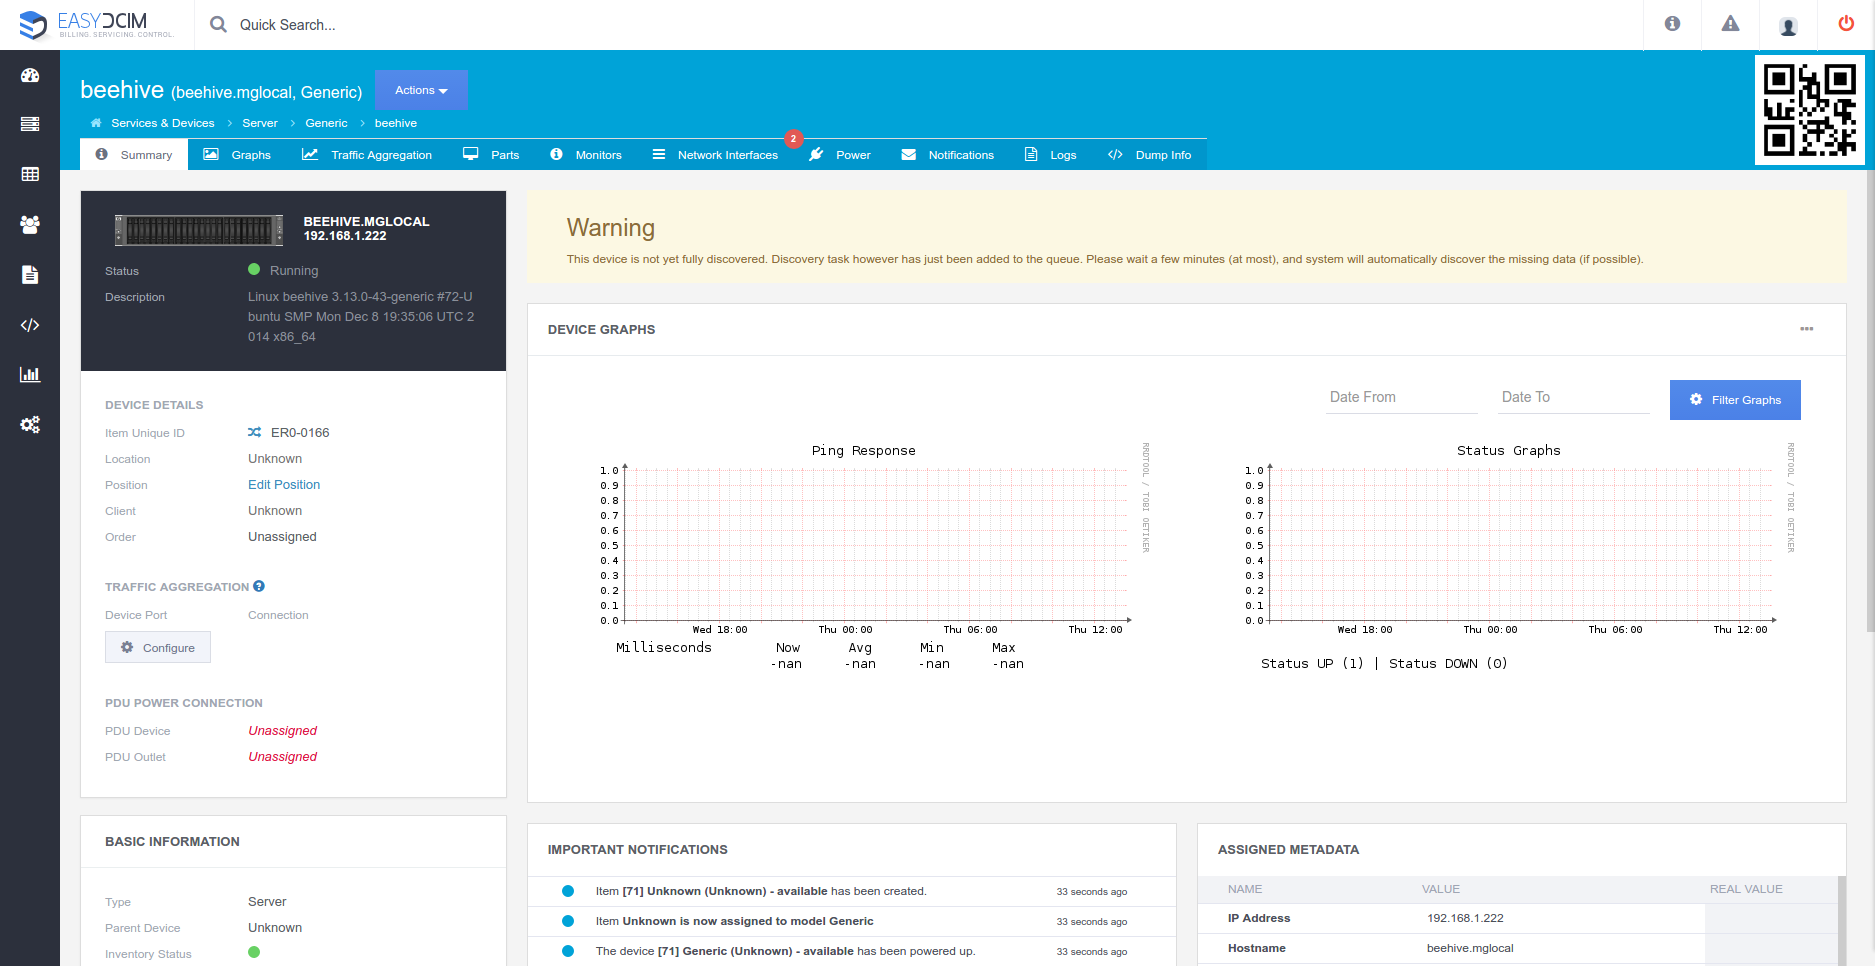
Filling in the form is not something to be done the hard way – you only need to give some details. The first thing to provide is hostname or IP address of the device. Then you select the version of SNMP that is configured on the server and complete the SNMP Public Community field for v1 and v2c. If you are using SNMP v3, the other fields must be filled in as well. After clicking ‘Save Changes’ button, the system will automatically try to connect to a device using SNMP. When the whole process is successful, you will be automatically redirected to a page with a summary of the device:
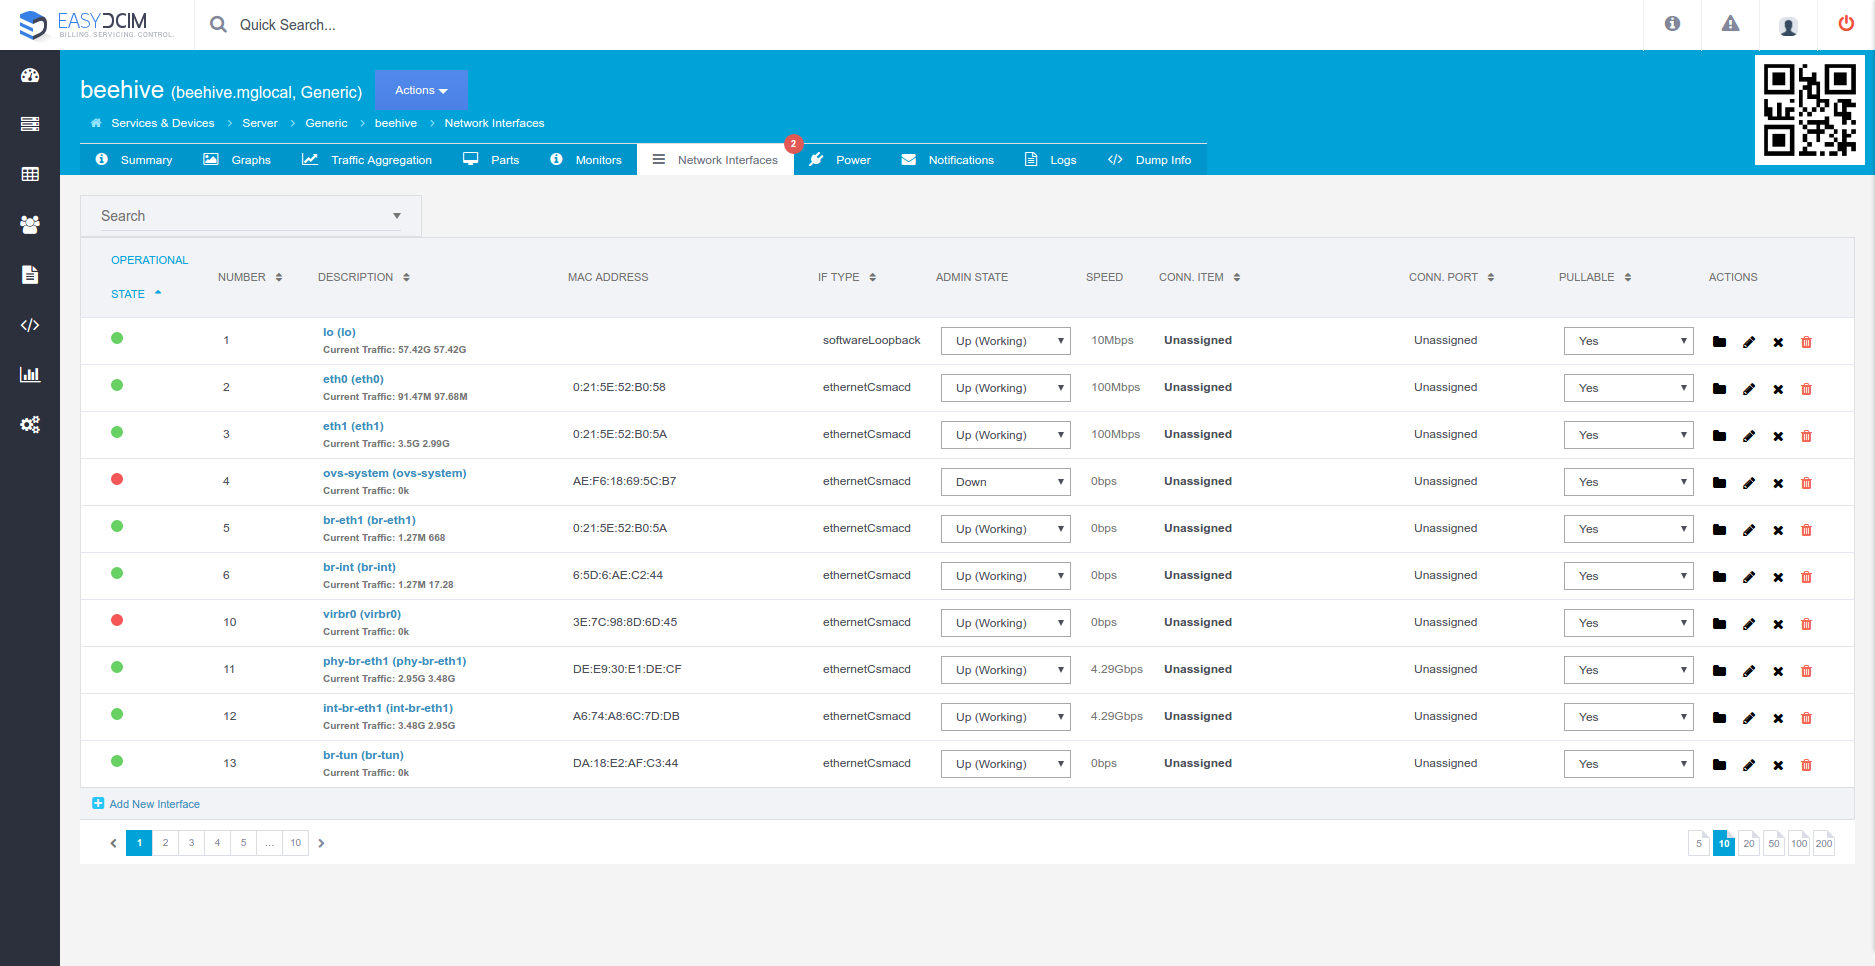
Auto Discovering automatically detects not only basic information about the device but also information about installed parts such as hard drives, RAM or processor. During this process all the network interfaces of the device are also added. Thanks to that the administrator does not have to bind them manually:
After a few minutes the system, in the process of pooling, will automatically retrieve additional information about the device, traffic of individual ports and other useful data. All that using SNMP.
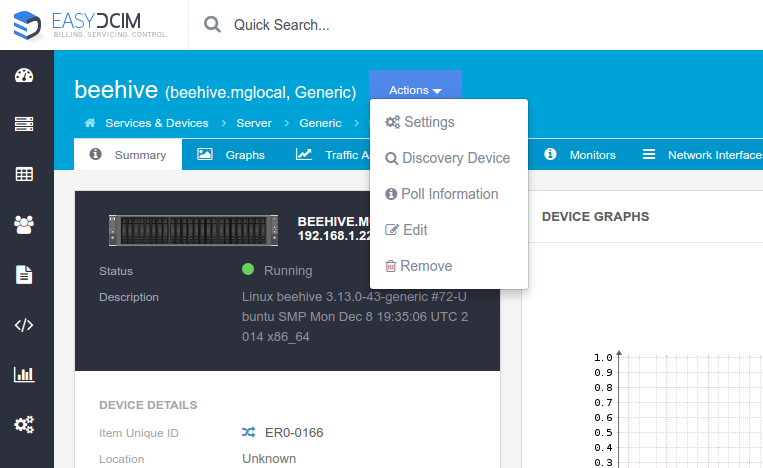
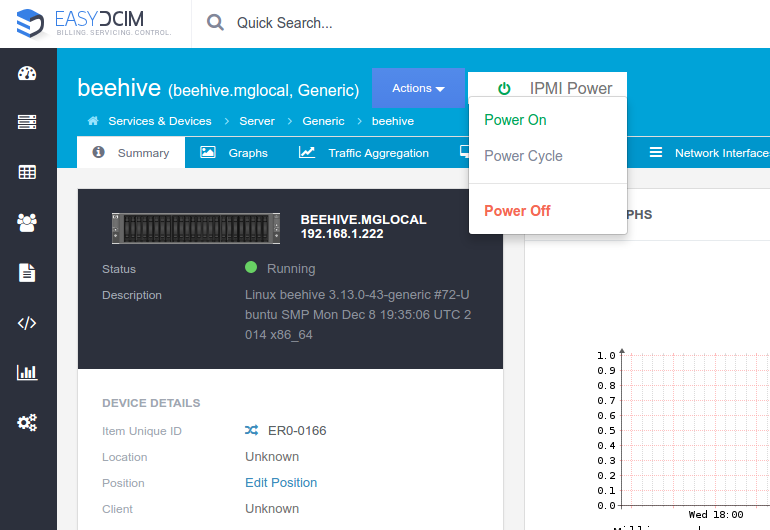
The server has been added in just a few seconds and the only thing left to do now is the IPMI settings configuration. IPMI protocol allows us to remotely manage a device by performing actions like boot/reboot/shutdown. If the device is of Supermicro or Dell Drac (from version 6) type, we can additionally use the KVM console which is retrieved while using the CURL protocol. To set up a connection to the IPMI, choose ‘Settings’ from the top ‘Actions’ menu:
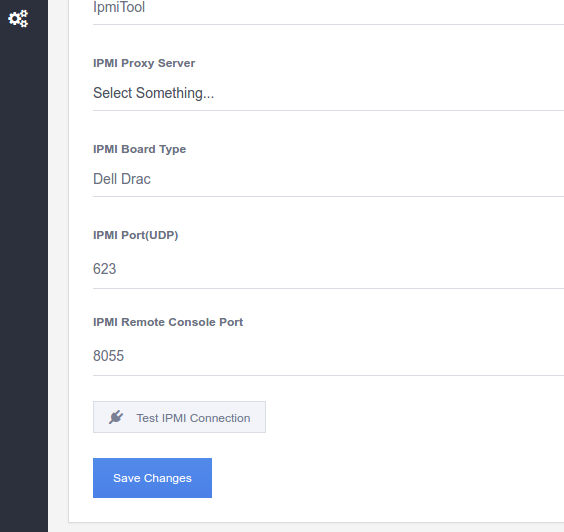
Then, go to the ‘IPMI Settings’ tab and fill the appropriate fields such as IPMI IP Address, IPMI Username, IPMI Password and IPMI Protocol Version. After saving changes, use the ‘Test IPMI Connection’ button to check the connection.
And that is basically all. Within a few moments we have added and pre-configured our device.
So now we can manage it remotely using IPMI protocol,
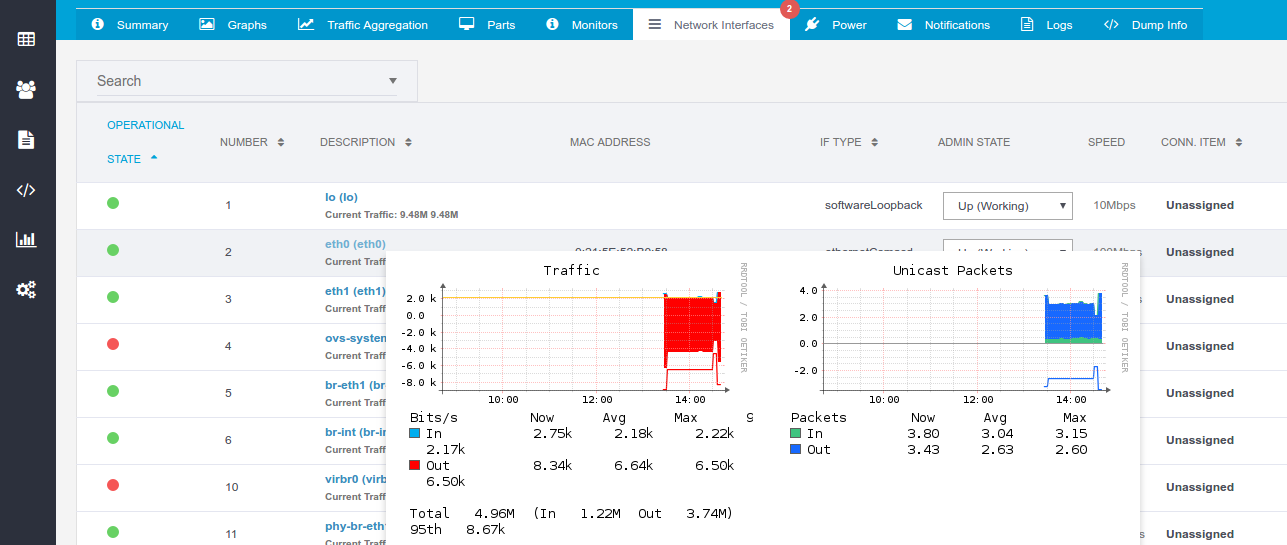
and also, using SNMP, monitor usage of transfer on specific server ports.
Voila! One of the hundreds of EasyDCIM nooks has been just exposed to make your daily experience with our control panel much easier. We hope that you find this little tutorial useful. Shall we do more of these? Feel free to leave a comment below!